- Products & Services
- Store
- Tech Support
The ScienceSlides Tour demonstrates the ScienceSlides functionality and showcases the different types of content that is provided in the package. The Tour also shows how easy and fast it is to use ScienceSlides to add to your own PowerPoint presentations.
The first demo showcases a general overview of how ScienceSlides works with Microsoft® Powerpoint® . The demo shows a brief overview of the many fields covered by ScienceSlides and shows how easy it is to add ScienceSlides' content to your own presentations. Furthermore the demo also shows how you can change the objects provided by ScienceSlides for your own needs.
ScienceSlides Demo 1: ScienceSlides »
The second demo shows how to use the content within ScienceSlides to create your own slides.
ScienceSlides Demo 2: How-to edit slides »
The third demo shows how to use 3D effects with Membranes.
ScienceSlides Demo 3: 3D effects in membranes »
Inserting slides and objects is as easy as 1-2-3:
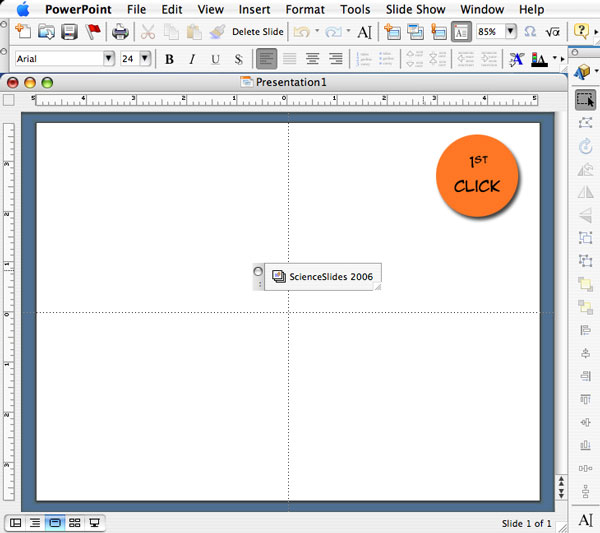
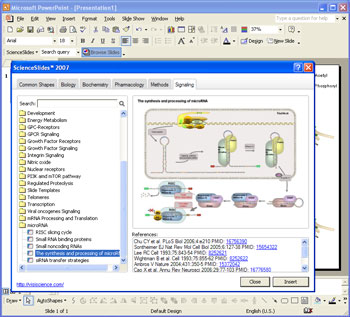
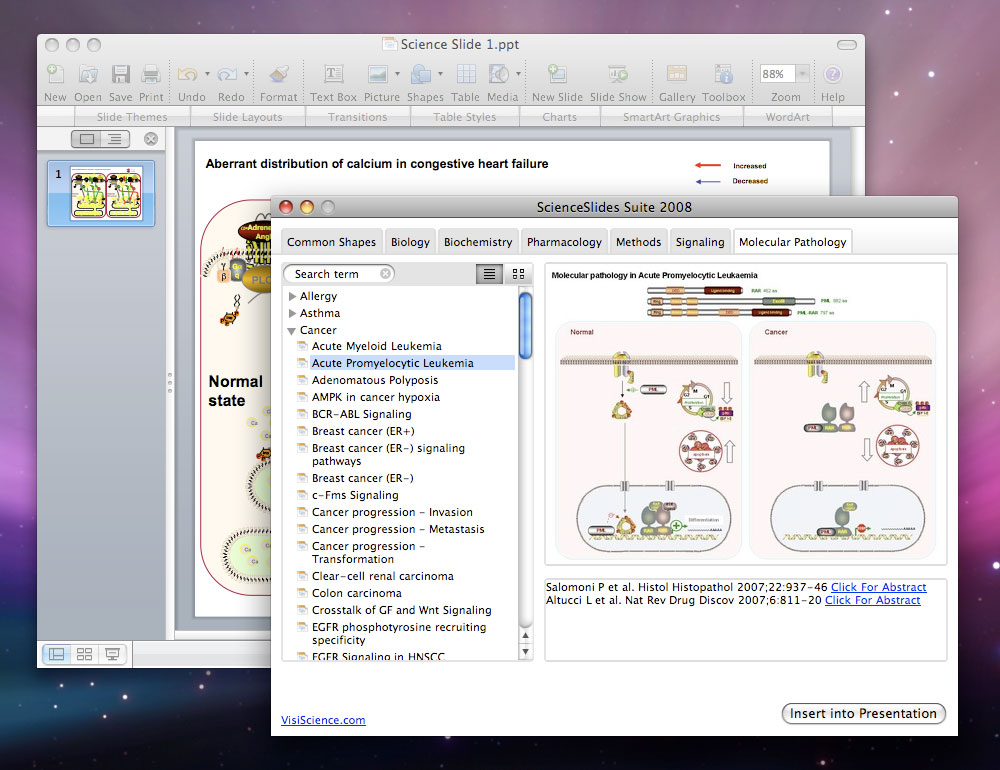
To simply add a slide or object to your presentation, start by clicking on the ScienceSlides toolbar.
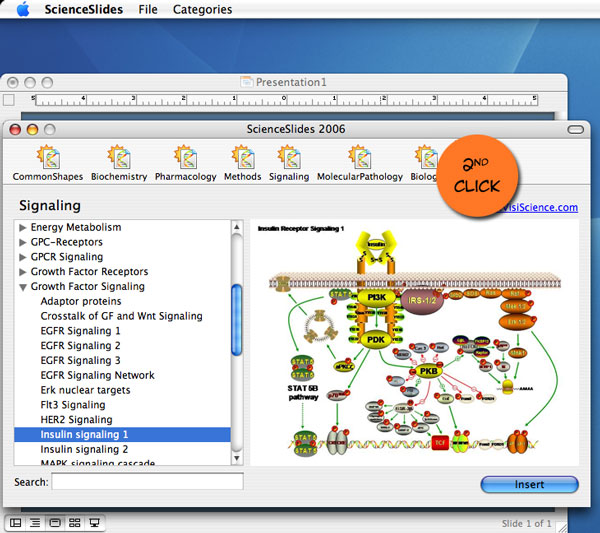
This brings up the ScienceSlides selection screen where you can browse through the entire catalog of material and choose the objects that you wish to put in your presentation.
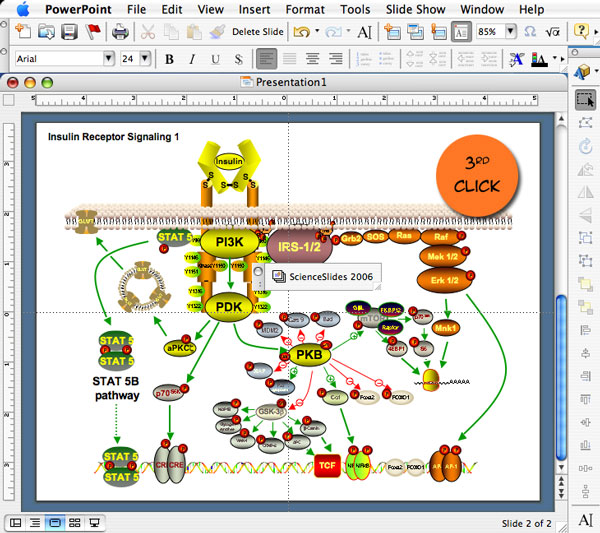
After selecting the object or slides that you wish to use, simply click insert and the object or slide is inserted straight into your PowerPoint presentation.